
When it comes to baking sourdough, I've always been on a quest for that great rise and just the right balance of tanginess, chewiness, and crustiness for my various recipes. Recently, I stumbled upon a game-changer that took my sourdough to the next level: whey from homemade yogurt.
Let's rewind a bit. Like many, I enjoy making my own yogurt at home. It's a simple process with delicious results. But after straining the yogurt to get that creamy texture, I found myself staring at the leftover whey, wondering if there was a better way to use it. That's when inspiration struck – why not try it in my sourdough starter?
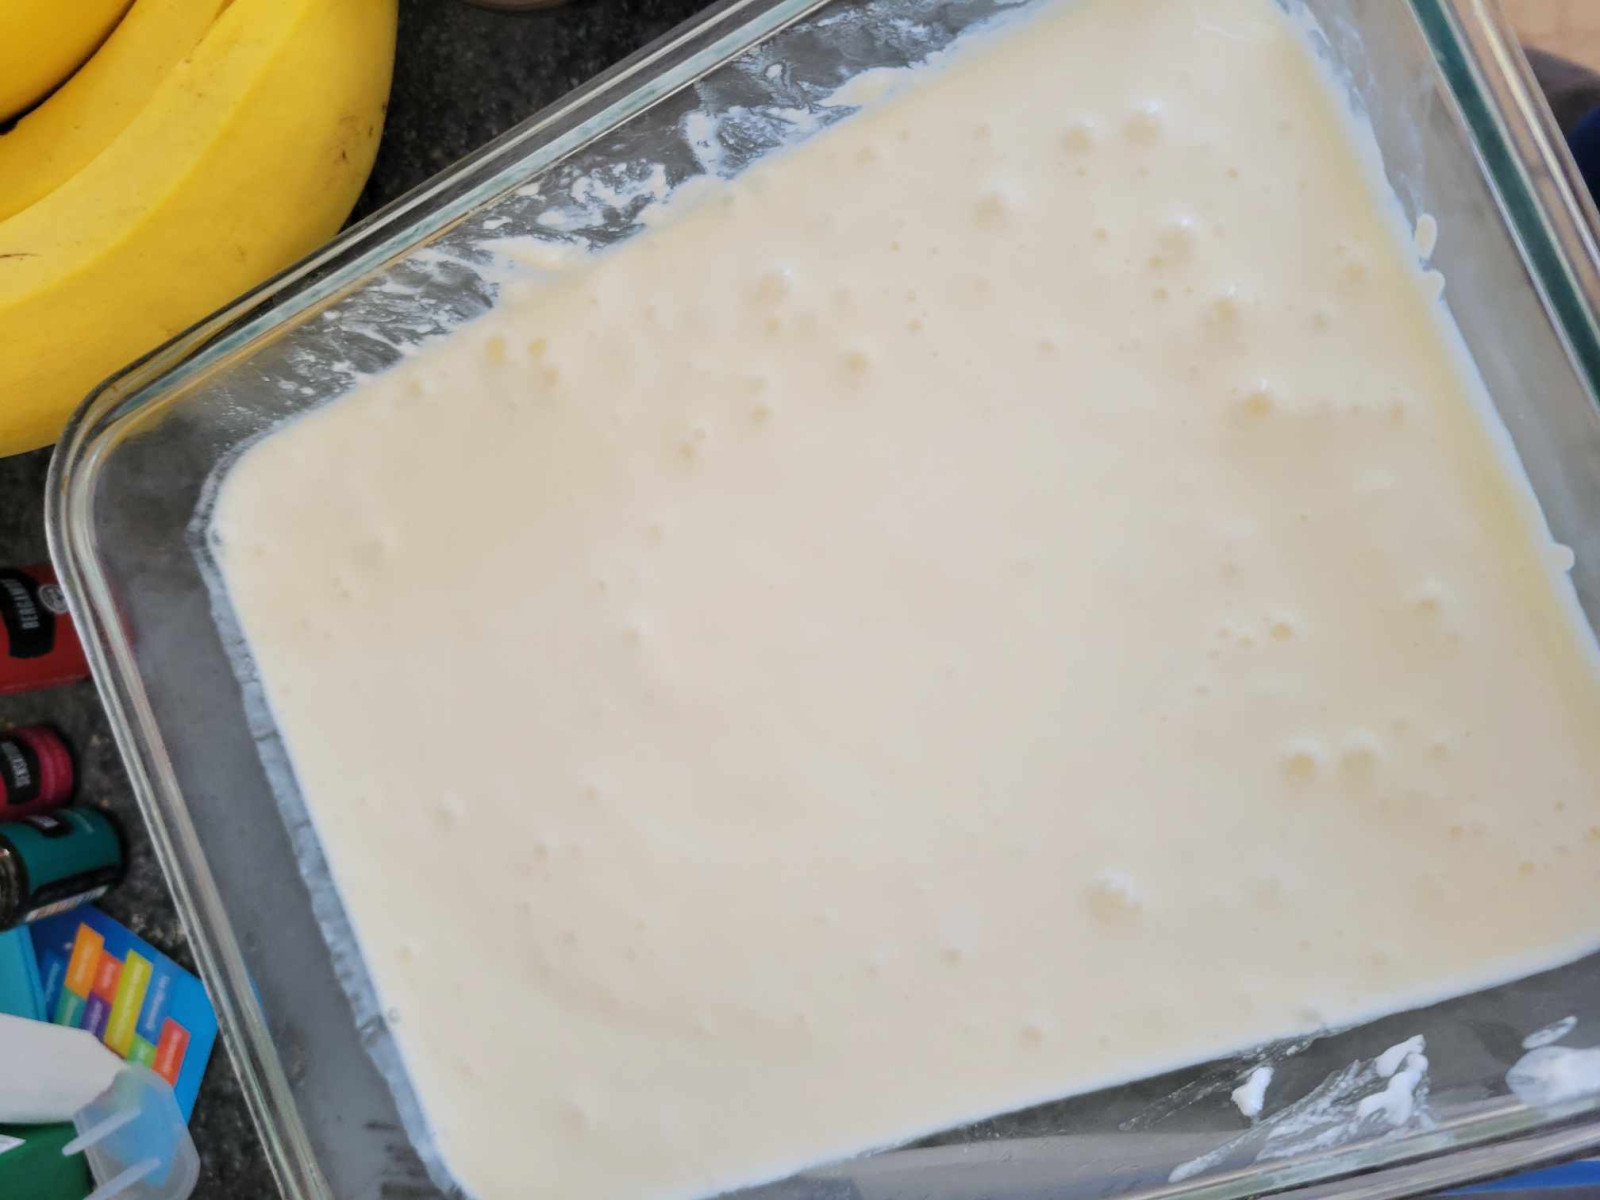
So, I swapped out all or most of the water in my usual sourdough starter recipe for whey, and the results were nothing short of fantastic. Not only did it add a subtle tanginess to the bread, but it also seemed to kickstart the fermentation process, giving my starter an extra boost. Plus, it felt good knowing I was putting that leftover whey to good use as I often struggle to find more ways to use and not waste the whey.
The benefits of using whey in sourdough go beyond flavor and fermentation. Whey is packed with nutrients and probiotics, thanks to its origins in yogurt. It's like giving your sourdough a little health boost with every use in a recipe. And for someone like me who's always looking for ways to eat a little better, that's a win-win.
So if you're making yogurt at home and find yourself with leftover whey, don't toss it out! Give it a try in your sourdough starter and see what happens. You might just be pleased with the results – I was! The secret to great sourdough isn't about fancy techniques or exotic ingredients. It's about being open to trying new things and making the most of what you have on hand. And for me, that means repurposing the whey from my homemade yogurt and letting it elevate my sourdough game to new heights.

In the world of culinary creations, few things offer the versatility, nutrition, and satisfaction of yogurt. Whether it's dolloped atop granola for breakfast, blended into smoothies for a midday pick-me-up, or used as a creamy base for sauces and dips, yogurt has firmly cemented its place in our culinary repertoire and personally in the Orem household, we love it! We only enjoy it made with raw milk as that is what we can digest well here, but you can use whichever type of milk you drink (whole milk will be best for thicker, greek yogurt). While store-bought options abound, there's something undeniably special about crafting your own creamy concoction at home, and it's healthier!
Making yogurt from scratch may seem daunting at first (I spent WAYYYY too long trying to figure out how to heat it or whether to heat it, etc) but fear not! With just a few simple ingredients and a bit of patience, you can whip up a batch of homemade yogurt that rivals the best commercial brands. Let's dive into the delightful world of DIY yogurt-making below, 2 different options:
Recipe #1
Ingredients:
- Milk (any variety - whole milk will yield the creamiest results, but you can also use skim or low-fat milk)
- Yogurt starter culture (either store-bought plain yogurt with live active cultures or a powdered starter, I linked my favorite and now I just save a little from each batch for the next batch! We LOVE the flavor from this one.)
- Optional flavorings (such as vanilla extract -- I make my own!, local honey, or fruit)
Equipment:
- Saucepan
- Thermometer
- Whisk or spoon
- Insulated container (such as a thermos or a yogurt maker)
- Clean kitchen towel or blanket
Instructions:
- Heat the Milk: Pour your desired amount of milk into a saucepan and heat it over medium heat until it reaches around 180°F (82°C). This helps to kill off any unwanted bacteria and denature the proteins in the milk, resulting in a smoother texture.
- Cool the Milk: Allow the milk to cool to around 110°F (43°C). This is the optimal temperature for the yogurt cultures to thrive. You can speed up the cooling process by placing the saucepan in a cold water bath.
- Add the Starter: Once the milk has cooled, whisk in your yogurt starter culture -- I like to use my frother for this part! If you're using store-bought yogurt as your starter, aim for about 2-3 tablespoons per quart of milk. If you're using a powdered starter, follow the package instructions for the appropriate amount.
- Incubate the Yogurt: Transfer the milk mixture into your insulated container. This could be a thermos, an instant pot, a yogurt maker, or simply a glass jar wrapped in a kitchen towel or blanket to retain warmth. Keep the container in a warm place (ideally around 100-110°F or 38-43°C) for 6-24 hours (We prefer longer!), allowing the yogurt cultures to ferment and thicken the mixture.
- Check for Doneness: After the incubation period, check the yogurt for desired thickness. If it's too runny, you can let it incubate for a bit longer and/or strain out some of the whey to increase thickness. If it's thickened to your liking, transfer it to the refrigerator to chill for a few hours before enjoying. I like to blend it after removing some of the whey for the smooth creamy texture.
- Optional Flavorings: Once chilled, you can customize your yogurt with flavorings of your choice. Stir in a splash of vanilla extract, a drizzle of honey, or swirl in some fruit preserves for a delightful burst of flavor.
Voila! You've just crafted your own batch of homemade yogurt, ready to be savored and enjoyed in countless delicious ways. Experiment with different milk varieties, starter cultures, and flavorings to create your own signature yogurt creations. With a little practice, you'll be a yogurt-making pro in no time. Come back and let me know your preferences, I'd love to hear! Cheers to homemade goodness!
Alternate Instant Pot Method (my preference):
Ingredients:
- Milk (any variety -- raw, store bought, whole preferred)
- Yogurt starter culture (store-bought plain yogurt with live active cultures or powdered starter)
Equipment:
- Instant Pot
- Thermometer
- Whisk or spoon
- Clean kitchen towel or blanket
Instructions:
- Prepare the Instant Pot: Start by ensuring your Instant Pot is clean and sanitized. Pour a cup of water into the Instant Pot insert and set it to "Pressure Cook" mode for 1 minute. Once done, carefully release the pressure and discard the water. This step helps sterilize the Instant Pot.
- Pour Milk Into the Instant Pot: Pour your desired amount of milk directly into the Instant Pot insert. I usually use a quart of milk for us for 5-7 days of yogurt (but we also don't eat it daily and only have 3 in our family so far).
- Add the Starter: Whisk in your yogurt starter culture. If you're using store-bought yogurt as your starter or saved yogurt from your last batch, aim for about 2-3 tablespoons per quart of milk. If you're using a powdered starter, follow the package instructions for the appropriate amount.
- Mix Well: Stir the milk and starter together until well combined. I like to use my frother for this!
- Incubate the Yogurt: Place the Instant Pot lid on, ensuring it's in the sealing position. Set the Instant Pot to the "Yogurt" setting. Depending on your Instant Pot model, you may need to adjust the settings to "Normal" or "Custom" for a longer fermentation time. Typically, yogurt is incubated for 8-24 hours (we prefer longer), but you can adjust the time according to your desired tartness and thickness.
- Check for Doneness: After the incubation period, check the yogurt for desired thickness. If it's too runny, you can let it incubate for a bit longer and/or strain out some of the whey with a cheesecloth if you'd like it thicker. If it's thickened to your liking, transfer it to the refrigerator to chill for a few hours before enjoying.
- Optional Flavorings: Once chilled, you can customize your yogurt with flavorings of your choice. Stir in a splash of vanilla extract, a drizzle of honey, or swirl in some fruit preserves for a delightful burst of flavor.
With this Instant Pot method, you can enjoy homemade yogurt with minimal effort and no need to heat the milk separately. It's a convenient and efficient way to create creamy yogurt right in your own kitchen. Experiment with different milk varieties, starter cultures, and flavorings to find your perfect yogurt combination. Happy yogurt-making!